If you want to enhance the appearance of your property without using painting, vinyl siding is a renowned and reasonable option. Most proprietors and builders prefer this choice because they are concerned about their home’s durability and appearance. As a practical and transformative solution, vinyl siding is a low-maintenance material that can be easily installed and can save significant money. Thus, it is not surprising that it has become a preferred choice for both specialists and DIY enthusiasts.
It is said that installing vinyl siding is not a cakewalk for everyone. The process requires tolerance and relevant experience. If you’re curious about how to install vinyl siding, this blog post provides a comprehensive guide on fitting vinyl siding to your space and achieving a professional finish.
What is the Significance of Vinyl Siding?
The significance of vinyl siding lies in multiple benefits, such as:
Protection & Durability
Vinyl siding offers a protective layer against the elements, including rain, wind, and extreme temperatures. It also resists dampness, rot, and deterioration, which guarantees durability.
Affordability & Ease of Maintenance
It is an affordable choice as compared to wood or brick. It has a lower initial installation cost and requires minimal maintenance. You usually don’t need to paint or stain it, making maintenance easier.
Energy Efficiency
Insulated vinyl siding can improve a home’s energy efficiency by lessening heat transfer, reducing heating and cooling costs.
Versatility & Aesthetics
Vinyl siding is available in various colors, styles, and surface designs. It allows homeowners to get a variety of aesthetic appearances. It can replicate the look of wood or other materials, offering flexibility in design choices.
Improved Property Value
It is available in various colors and styles. It is an attractive option for enhancing a home’s curb appeal and significantly increases the property’s overall value.
Environmental Impact
Vinyl siding is eco-friendly because it requires fewer raw materials, energy, and water to produce than brick or cement.
Process of Vinyl Siding Installation
Whether you are an experienced professional or a beginner, understanding how to install vinyl siding correctly is crucial for achieving a professional look and maximizing your investment.
Tools and Materials Required
To successfully install vinyl siding, you will need various tools and key materials for a seamless installation.
Tools
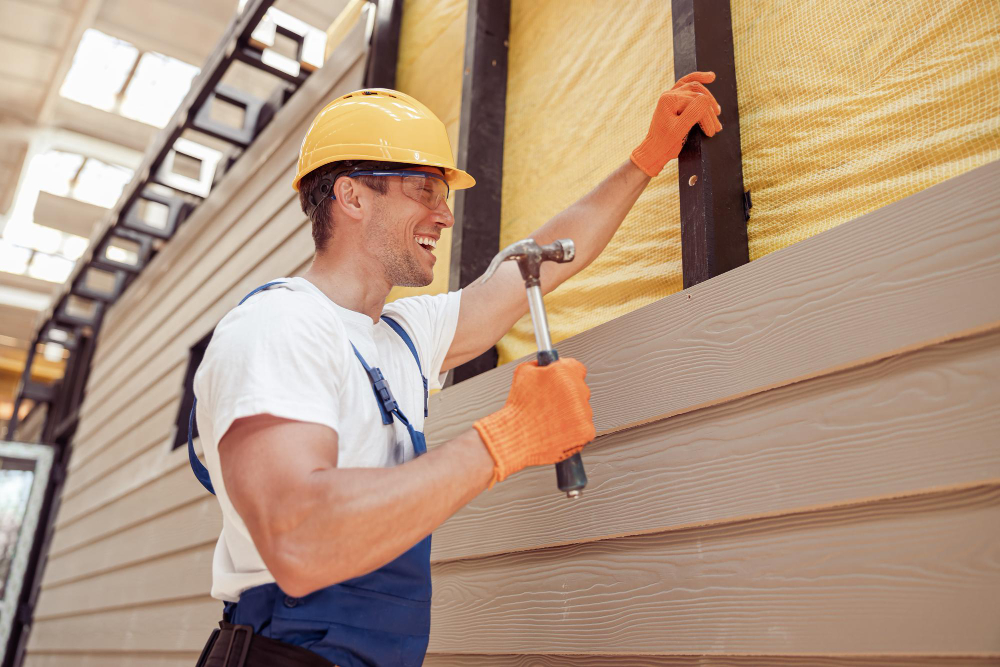
- Hammer: For driving nails and securing siding.
- Level: To ensure proper alignment and straight lines.
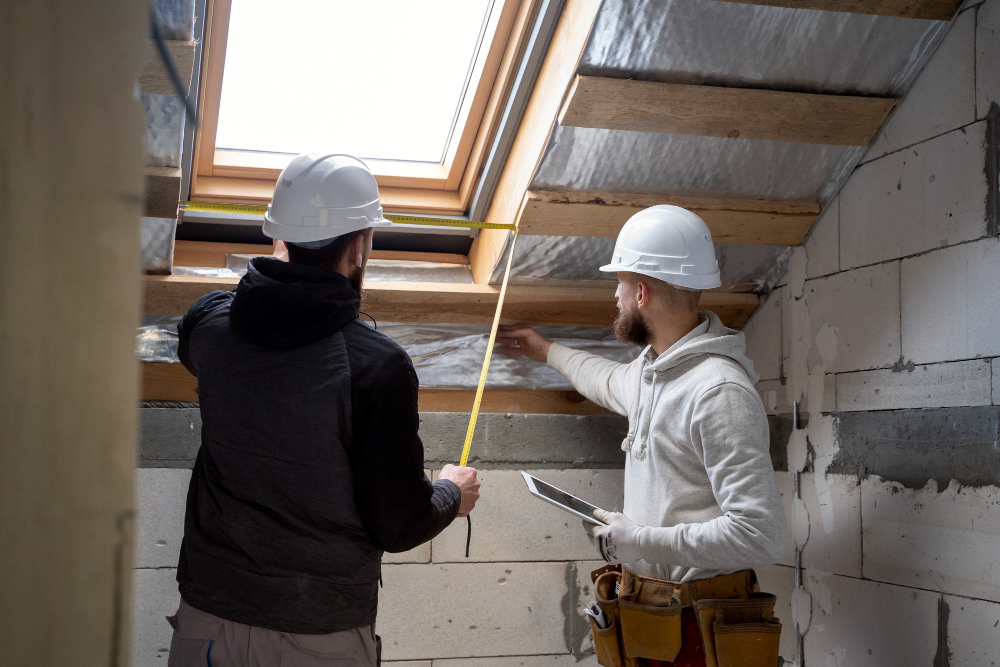
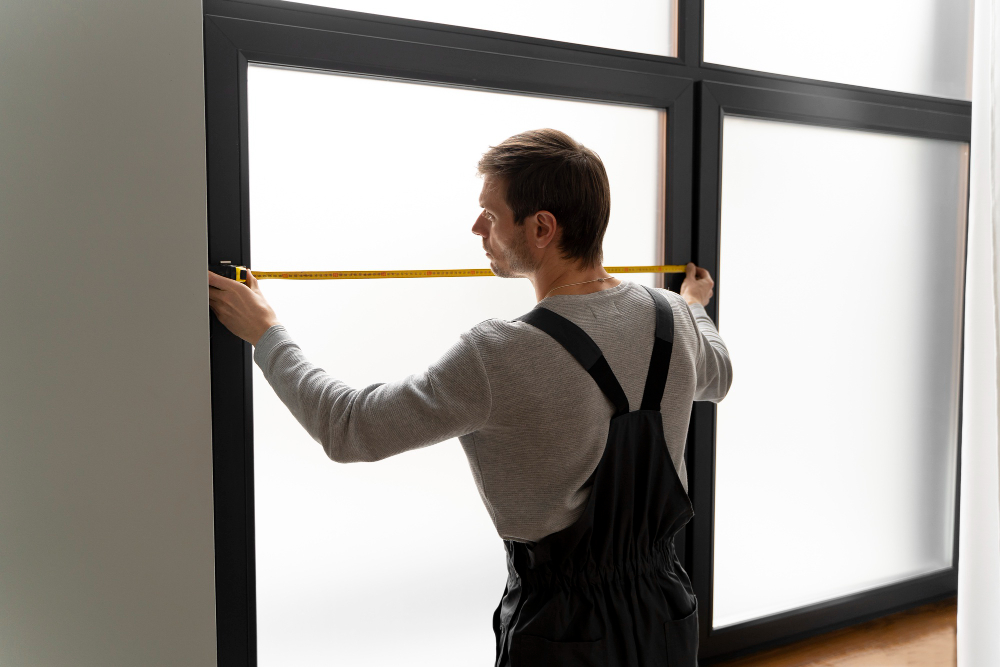
- Tape Measure: For taking precise dimensions and cutting.
- Power Saw: Particularly helpful for cutting siding panels, preferably with a fine-tooth blade and a reverse-mounted blade for cleaner cuts.
- Utility Knife: For trimming and scoring vinyl.
- Tin Snips: For precise cutting and shaping of trim and other pieces.
- Rafter Square or Carpenter’s Square: For checking angles and making cuts.
- Pry Bar: To remove old siding if necessary.
- Chalk Line: For drawing straight lines on the wall.
- Ladder: To reach higher areas.
- Safety Glasses: For protecting your eyes from rubbish.
- Nail Slot Punch and Snap Lock Punch: Used to create precise holes and tabs for nailing and locking siding pieces together.
Materials
- Vinyl Siding Panels: The main siding material.
- Starter Strip: The base strip on which the siding is installed.
- J-Trim: Trim around windows, doors, and other openings.
- Corner Posts: Trim for the corners of the house.
- Nails: Galvanized steel or aluminum nails are used for safe siding.
- Flashing: To avoid water damage at the base of the siding.
- Underlayment/House Wrap: A waterproof barrier to protect the wall.
Remove the Old Material
It is important to remember that a solid foundation is key to ensuring the durability and effectiveness of your new siding. Therefore, it is essential to thoroughly prepare your property before you begin the vinyl siding installation process.
- The primary step in this preparation involves eliminating the existing material from your home’s walls to create a clean and stable surface. This step is especially important for older homes, as you may find several layers of old siding that should be removed.
- Additionally, you need to inspect and assess the condition of every layer because it affects the final installation.
- To ease the removal process, you can use a zip tool to detach the current vinyl siding panels. By properly removing the old siding, you will ensure a more successful installation of the new vinyl siding.
Surface Preparation for Vinyl Siding
To properly prepare your home’s exterior for vinyl siding, you need to make sure the surface is clean, level, and free of obstacles.
Safety First: Turn off exterior power to avoid electrical hazards.
Inspect and Repair: Inspect the existing siding accurately for any damage, such as loose boards, rotten wood, or old caulking. Repair or replace any damaged parts to ensure a smooth surface for the new siding.
Eliminate Obstructions
Clear the Work Area: Move outdoor furniture, plants, and other items away from the siding.
Trim Vegetation: Trim or tie back trees and shrubs that may interfere with the installation process.
Remove Fixtures: Detach any fixtures, downspouts, or shutters that will be replaced with the new siding.
Clean the Surface: Power wash the exterior to remove dirt, mold, and mildew, ensuring it is completely dry before proceeding.
Apply Weather Barrier/Housewrap: Install a weather barrier or house wrap to protect the wall from dampness.
Install Furring or Strapping: If the wall surface is not flat, install furring strips or strapping to create a level and even base for the vinyl siding.
Lay Groundwork: Determine a starting point for the siding and ensure it is level.
Consider Insulation: Add insulation between the wall and the new siding to enhance energy efficiency when needed.
Apply Primer: If necessary, apply a primer designed for vinyl siding to ensure the new siding’s appropriate adhesion.
Protect Landscaping: To prevent debris from damaging it during the installation process, you need to cover landscaping with a tarp.
Attach Sheathing and Flashing
When installing vinyl siding, sheathing and flashing help shield a house from water damage. Sheathing provides a flat siding surface and insulation, while flashing directs water away from vulnerable areas, such as corners, windows, and doors.
Sheathing
Sheathing gives a flat surface for siding, ensuring an appropriate installation and finish. Sheathing, particularly foam plastic options, can also offer insulation to enhance the home’s energy efficiency. It not only shields against wind, rain, and snow but also adds rigidity, evenly distributes loads, and prevents instability in the building.
Flashing
Flashing directs water away from places where it might seep into the wall, avoiding leaks at inside and outside corners. It also protects windows and doors, keeps the house wrap safe from UV damage, and improves the overall performance of the building’s protective layer. Flashing must cooperate with the weather-resistive barrier to create a smooth drainage system that ensures water drainage from the building.
Install the Starter Strip
After attaching the sheathing, install the starter strip next. This strip is crucial for your vinyl siding. Make sure the starter strip is level so that everything above it fits properly. Use a level and a chalk line to mark where to place the starter strip.
Ensure the starter strip accommodates the insulation thickness. A J-channel can also act as a starter, which simplifies installation. A properly installed starter strip keeps siding straightforward and safe.
Install Inside and Outside Corners
When installing vinyl siding, it is important to know how to handle inside and outside corners properly. These corners improve the look of your home and help avoid moisture issues and air leaks.
Inside Corner Installation
Mark Chalk Lines: Measure the width of the corner piece on each wall and snap vertical chalk lines as guides.
Cut the Corner Piece: Use a miter saw to cut the corner piece 1/2″ longer than the wall height to ensure it fits tightly against the soffit.
Nail the Corner: Nail one side of the corner piece with nails spaced 12 to 14 inches apart, then secure the other side. Place the top nails at the top of the slots and the rest in the center.
Consider J-Channel: For narrow inside corners, you can use one piece of J-channel or two pieces next to each other.
Splice if Needed: If the corner piece is too long, cut it to fit and join it with another piece.
Outside Corner Installation
Mark and Snap Chalk Lines: Snap chalk lines on the outside corners to mark the edges of the vinyl corner pieces.
Position the Corner Piece: Cut the corner piece and ensure it extends 3/4″ past the starter strip.
Nail the Corner: Secure the outside corner trim in place by nailing one side, spacing the nails every 12 to 14 inches. After that, nail the other side.
Splice if Needed: If the corner piece is too long, trim it to size and join it with another piece.
Cap (Optional): Consider capping corner posts for a polished look.
Installing Vinyl Siding Panels
After installing the inside and outside corner posts, make sure to install vinyl siding panels with overlapping, nailing, and spacing for a safe and weatherproof installation.
- Start with the installation of siding panels at the rear corner, moving toward the front.
- Overlap each panel by ½ the width of the notch or approximately 1 inch, ensuring the panels are fully locked together.
- Nail siding panels securely, typically every 12-14 inches, using the correct fasteners.
- Stagger the siding end laps so that no two courses are aligned vertically, unless separated by at least three courses.
- Leave a 1/4-inch gap at each panel’s corner post.
- Install J-channel trim around doors and windows, ensuring a clean and weatherproof seal.
- At inside corners, consider adding a silicone bead and step flashing for added protection against water intrusion.
- Cap the outside corner posts for a finished look.
Soffit and Fascia Installation
To complete your siding project, install vinyl soffit and fascia. This means installing soffit panels and fascia trim to guard the edge of the roof and improve your home’s appearance.
Install Soffit Panels
Open Eaves: Install F-trim along the wall and fascia board. Measure the F-trim, subtract ¼ inch for expansion, and cut the soffit panels.
Closed Eaves: Install J-channels on the inside wall and behind the fascia board. Measure the distance between the J-channels, cut the soffit panels, and allow ¼ inch clearance.
Turning Corners: Miter soffit panels are placed at the proper angle, and two J-channels are used for support.
Closing Soffit Ends: Install J-channels cut to length into the overhang.
Install Fascia Trim
Fascia Runners: Install F-trim on the fascia board at the bottom.
Fascia Coverage: Attach the fascia trim to cover the outer edge of the soffit, ensuring it is aligned correctly and fastened securely.
Secure and Finish
Expansion Gaps: Allow for ¼ inch gaps between panels and trim to accommodate expansion and contraction.
Nailing: Use nails designed for vinyl siding and nail through the V-groove of the soffit panel if possible.
Corners: Use transitional channels or mitered soffit panels to create clean corners.
Ventilation: If using vented soffit panels, ensure proper ventilation openings are present.
Final Touches
Clean Up: Clear away any rubbish and tidy up the area.
Inspect: Double-check all connections and fastenings to ensure a professional finish.
Vinyl Siding Cutting Methods
To cut vinyl siding, you can use a circular saw with a fine-toothed blade, tin snips, or a utility knife.
Utility Knife
A utility knife is ideal for straight cuts, especially when scoring and snapping the vinyl. It can be used to score a line on the vinyl and then snap it along the score line.
Pros: Simple and quick for clean and straight cuts.
Cons: Less ideal for long cuts or intricate shapes.
Tin Snips
Tin snips allow for precise cutting and shaping of vinyl siding, especially around windows, doors, and corners. This technique is ideal for full cuts, curves, and lengthy cuts.
Pros: Versatile, good for multiple shapes and cuts.
Cons: Can tire more for long cuts and may not yield as smooth an edge as other methods.
Circular Saw
A circular saw with a fine-toothed blade can be used to cut through vinyl siding, producing a clean and efficient cut. This method can be used for straight, long cuts and large numbers of cuts.
Pros: Fast, efficient, and suitable for long cuts.
Cons: May not be as appropriate for complex cuts or curves.
Concluding Thoughts
In conclusion, installing vinyl siding involves several steps, starting with preparing the exterior of your house and concluding with the installation of vinyl siding. Follow this guide to achieve an expert, long-lasting solution that enhances the appearance and protection of your home.
Are you ready to enhance your home’s appearance with vinyl siding? Rockford Coastal Homes has you covered. We have delivered durable vinyl siding that has kept several homes secure and beautiful for years. Reach out to our team anytime with your questions and receive guidance to make informed decisions for your new home or remodeling project, ensuring success.